10 Tips for better lighting in your Vlogs/Streaming
Written by Ryan Hoile - May 01, 2020
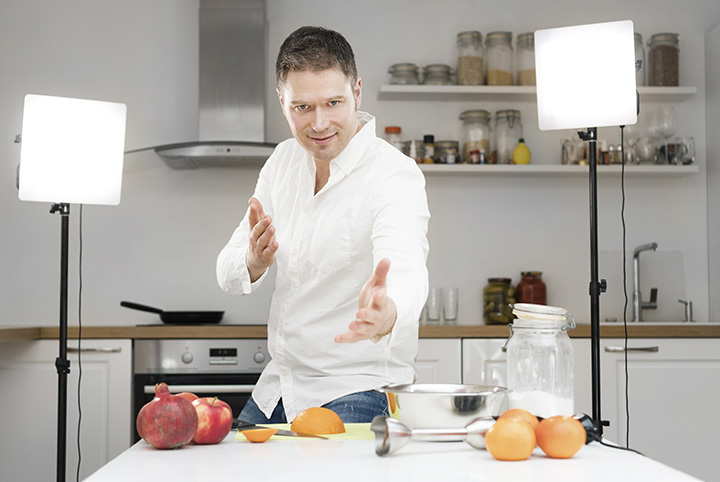
We’re back with some more tips to help you kick start your vlogging adventure. In this blog we are looking at different lighting options you have when you are recording.
-
Avoid backlighting or lights pointed into the lens.
A strong light source (such as the sun or ceiling light) behind you or your subject that is pointed towards the camera can have several negative effects on your video. Your subject may appear darker or silhouetted completely, contrast is reduced, colours may appear to be washed out and the lens may flare with unwanted patterns. Try repositioning yourself or the camera to remove these lights from the shot.?
-
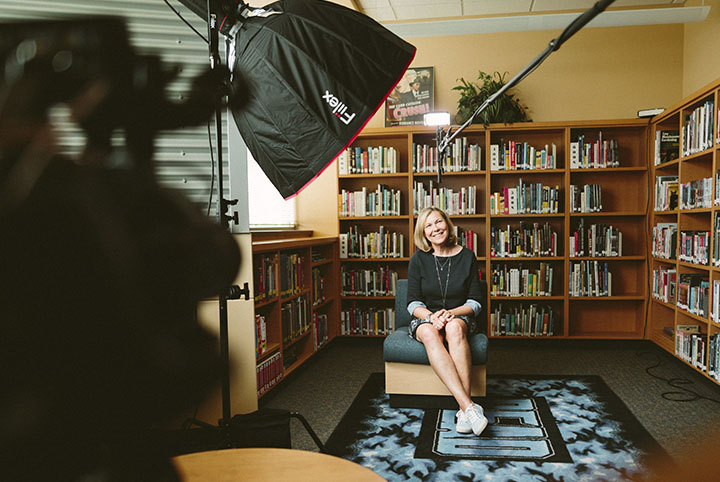
Larger light sources are softer.
Hard-edged shadows are never a good thing, everyone prefers a softer look but how do you get it? The secret is how physically large your light source is (relative to the subject, you). Studio photographers have practiced this for decades with large diffused soft-boxes, and it’s the same theory with LED lights. Try to get as large of a panel as your budget will allow, and consider how you will mount it. Remember it isn’t the power that matters, just the physical size. The tiny light on your phone will always create a harsh shadow, whereas a window is substantially larger and can let amazing soft ambient light through.
-
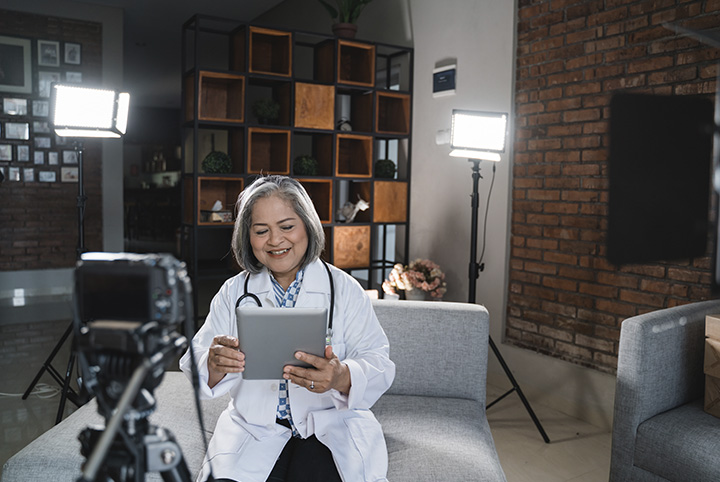
How far away should your light be?
If you’re unable to use a larger light source as outlined above, you might still be able to soften the shot by moving the light closer to you. There are a few benefits to this: A closer light will become relatively larger as it gets nearer so don’t be afraid to position it just outside of the shot. Also, because of the way light intensity falls over distance travelled, a light positioned closer doesn’t require as much brightness to do the same job allowing you to turn down the power and save energy (great for battery powered lights!).
-
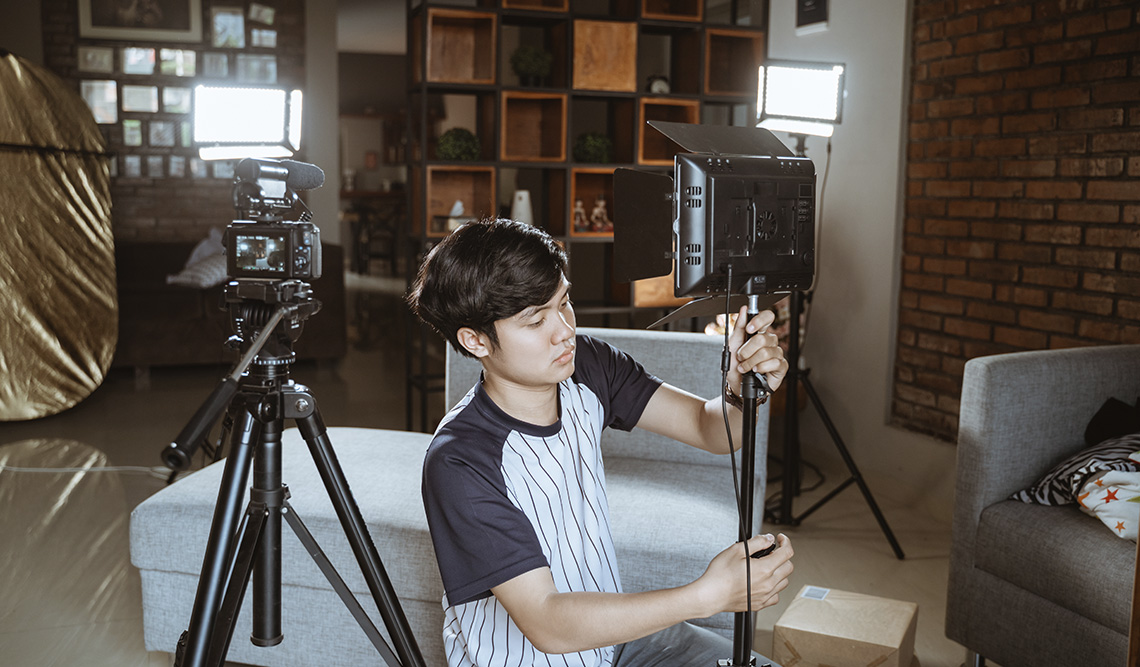
Consider the direction of the light and where shadows fall.
There are a couple factors to consider when deciding what angle to position your light source. For instance, a light that is mounted directly on top of the camera will be likely to create a harsh shadow behind you. If you wear glasses, you will also see a reflection of the light bounced back in their videos.
These can both be avoided by moving the light just off to the side and a bit higher than head height. Pay attention to how the shadows look on the unlit side, if they become too dark use a white/silver reflector or similar object might be required to bounce some light back in to open up those shadows.
-
Create separation from your background with light intensity and gels.
You don’t want to blend into your background, so by following the steps above, you can create a nice contrast between yourself and the background. If your background is further away it will naturally receive less of the light, this can help you plan the best place to setup your vlog.
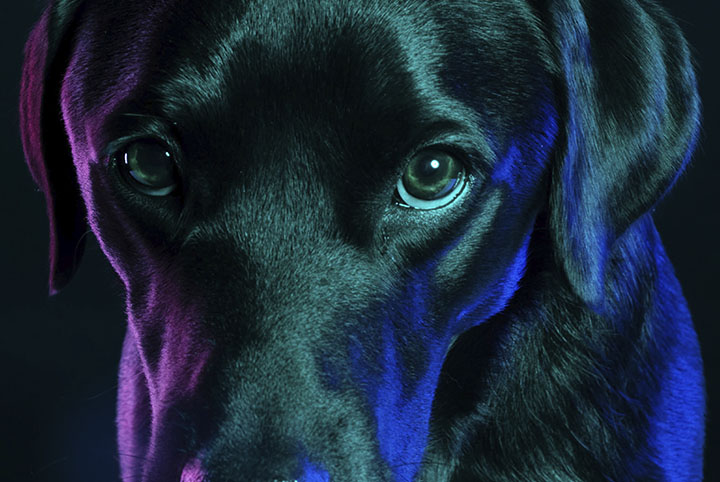
Ready to take it to the next level? Give your neutral background a colour hit by pointing a second LED light directly at it and use a coloured gel or cellophane wrap (ensure you don’t cover any air vents on your light) creating mood and separation of tone.
-
The light we see is reflected off objects, lighter colours are more reflective.
The colour of an object greatly affects how much light can bounce off it and be picked up by your camera. If possible, wearing lighter coloured clothing can help your lights be more effective. Be careful though when wearing highly saturated colours like lime green or vibrant reds as these can spill over onto skin tones or other surfaces.
-
Ring lights are great, but they’re not a fix-all.
One of the most popular lights for vlogging content these days is the ring light. By placing the camera through the middle of the light source you can achieve very even illumination and reduced appearance of shadows. The result of this is a light which can sometimes feel “flat” because there is no direction to the shadows. However, this is a great choice for showing clear detail like in makeup artistry or filming technical components, but not so ideal for videos going for a natural or cinematic feel.
-
Taming the sun for outdoor vlogging.
Filming outdoors can sometimes feel like a battle against the elements, but there are techniques to getting better results when vlogging out and about. Avoid the high sun during the middle of the day; light is generally more forgiving in the early morning or late afternoon. Overcast days will give great soft light as a blanket of clouds act like a giant softbox, and by adjusting your camera angle you can keep the sky out of frame and hide the bleak weather. Make use of shaded areas for more even lighting, but be sure to change the white balance setting if your camera allows, so you keep some warmth in the shot.
-
Light too harsh? Bounce it!
If your light source is too bright and cannot be adjusted down in power, bouncing it off a nearby surface can help lower the intensity and soften the light. Try to bounce off a bright neutral coloured surface: white or silver work best, like those found on a 5 in 1 collapsible reflector.
-
Bi-Colour LED panels give more flexibility.
LED Panels don’t just come in plain white these days, some offer a combination of white and orange LEDs, allowing you to adjust how much warmth you need which is great for achieving pleasing skin tones in all conditions.