Introduction to Music Photography
Written by Emily Mathison - Aug 14, 2020
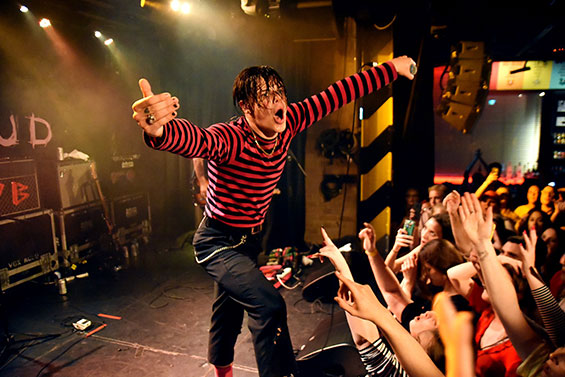
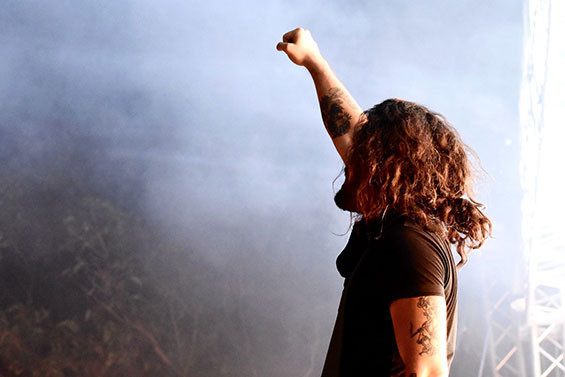
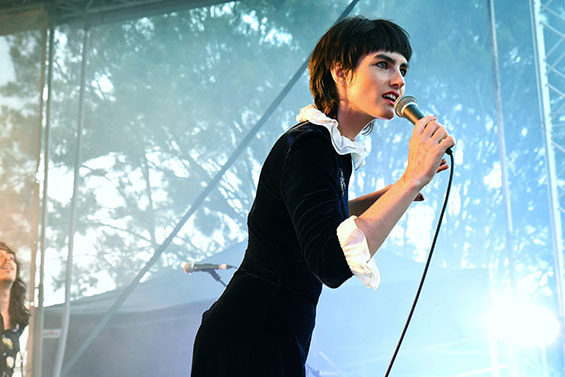
Music photography may seem like a simple task…all you do is point and shoot, right? To be fair, yes you do point and shoot, as with any other kind of photography, but there is so much detail involved in music photography. If you have ever been to a gig or a concert, you have probably noticed that a lot of the time, there is not a consistent light source, the singer or band is not going to stay still for very long, there is fog being blown around…these are all things music photographers have to consider and contend with. So, if you want to be a successful music photographer, it is paramount that you pick your gear wisely, and that you know how to use it. In this blog, I’ll be running you through some tips that help you when it comes to figuring out gear to use, as well as some camera settings that will get you headed in the right direction.
There is a lot to think about when you are shooting a concert or a festival for the first time. If you are a photographer looking to take the plunge, you’ll probably already have suitable gear (as long as you have a wide aperture lens), and you’ll most likely have a little bit of knowledge about shooting settings for low-light environments. But if you’re total newbie to photography, your first few times shooting a gig will be quite overwhelming (the first time I ever used a camera was at a gig, so don’t worry if you’re feeling a little flustered, we’ve all been there). There is so much that you will pick up from talking to other photographers around you and by just experimenting with the camera settings.
In terms of basic settings, you want to crank up your ISO, you want to be shooting with a wide aperture (generally around f/2.8 or wider) and you’ll want a pretty fast shutter speed (musicians seem to move a lot quicker when you’re a foot away from them). Take advantage of continuous shooting and autofocus, and when you can, track your subject across the stage. One of the biggest rules in music photography is that you can’t use a flash, so you really need to make sure before the band hits the stage that you have your settings sorted for the lighting situation. There is a lot to think about, but with the right gear in hand, you’ll capture some once in a lifetime images.
Since there are so many technological advancements in the photography world now, the majority of DSLR and Mirrorless cameras boast the features you need for music photography, so if you’re a beginner, there’s no need to spend a bomb on your gear. The first camera I had was a Nikon D3500, which is a base model DSLR, but you know what, it more than did the job. I shot countless gigs and festivals with this one and it never missed a beat. Teamed with a Nikkor 35mm f/1.8 Lens, it was an ideal combo for a beginner. As I started shooting more, I added to my kit, and upgraded to a Nikon D7500. I also now have a Tamron 70-200mm f/2.8 and a Tamron 17-50mm F/2.8 XR D.
When it comes to choosing a lens, this is just as important as the camera. Due to the general low light of concerts, it is imperative you invest in a lens with a wide aperture. A lens with an aperture of f/1.4, f/1.8 and f/2.8 will best be your best bet, allowing you to capture vivid colours in low light scenes with minimal noise. Depending on what camera brand you shoot with will essentially determine what lens options you have, but also remember that third party brands like Tamron and Sigma have a huge variety of high-quality lenses too.

If you are just starting out in photography and are looking at buying one lens for now, I would suggest a multi-focal length lens. One of lenses in my kit is the Tamron 17-50mm F/2.8 Lens, which offers a huge zoom variety. I say this because the stage height at concerts and festivals varies so much. I have been shooting at festivals where the stage is so high that I can barely see over it from in the photographers pit, so it came in super handy to be able to zoom in to capture the action. It also simply gives you the option to play around with focal lengths without changing lenses, allowing you to capture full body shots as well as close portrait style images.
Just a little side note here as well, before you step into the pit, you are going to want to make sure you have a lens filter on. I can’t even count the amount of times I have been drenched in a flying drink that is making its way to the stage or had beads of the singers sweat dripping down onto me (yes, you do get up very close and personal in music photography), so having a filter on just adds protection to the front element of your lens.
I know it sounds like a lot, but as with anything, the more you practice the easier it will get. The main thing is to have fun with it, play around with your settings and be confident that you can get ‘the shot’.
If you’ve got any music photography shots you want to share with us, don’t hesitate to reach out to us on socials or tag us in your work. You can find us on Instagram and Twitter at @dcwarehouse, and Digital Camera Warehouse on Facebook.