How to Set up Your Home Studio Part 1
Written by Daniel Smith - Jun 02, 2020
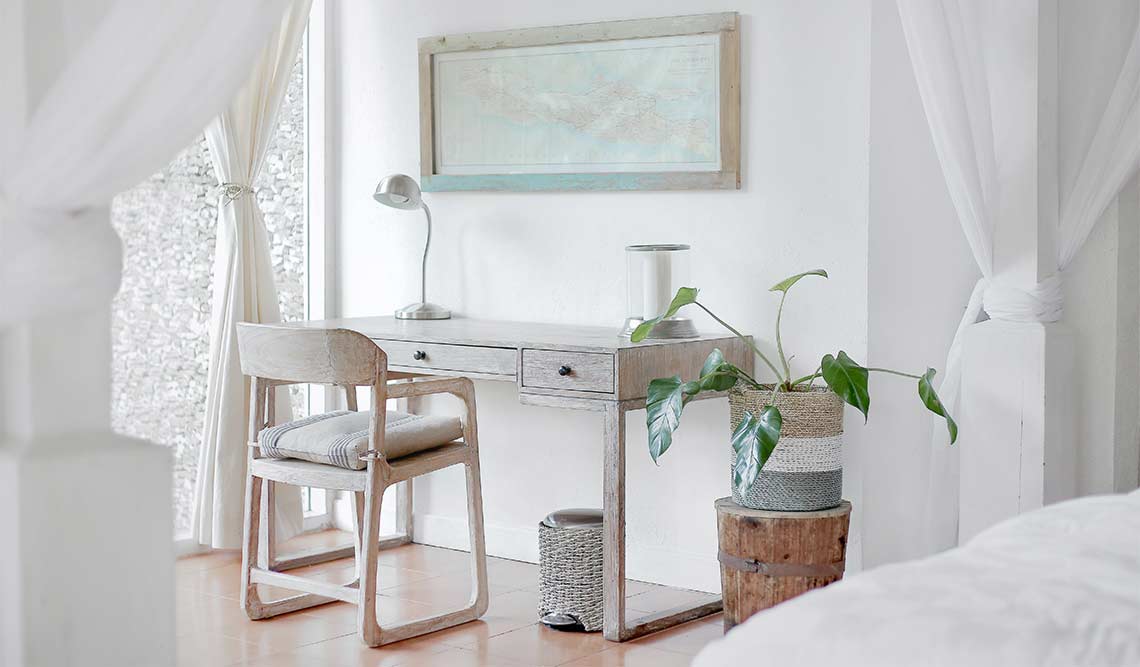
A home studio is a great idea, especially when stay at home measures are in place. To set up a home studio you need to think about the space available to you in your house, your budget and just what it is that you want to photograph. This is part 1 of a 2 part article on setting up your home studio.
Be creative when thinking about your space. Perhaps you have a garage that you can convert into a studio when your car is not parked in there, and depending on what you are photographing, your studio could be as simple as a cardboard box with a backdrop. If your house already looks like a page out of Frankie Magazine then your studio can be everywhere, if not a shallow depth of field can blur out the background.
Your budget of course needs to a consideration too, but with your home studio setup, you can always build it up gradually over time. Start small and get more as the need arises.
Ok so: lights, camera, action and those other pieces that we need…
Light Source
Ok the most important thing first, light. A good photographer understands light; they study it and constantly notice it. Even without a camera on you it is worth studying light everywhere you go; but really, having a camera on you at all times is the best option so you never miss an opportunity!
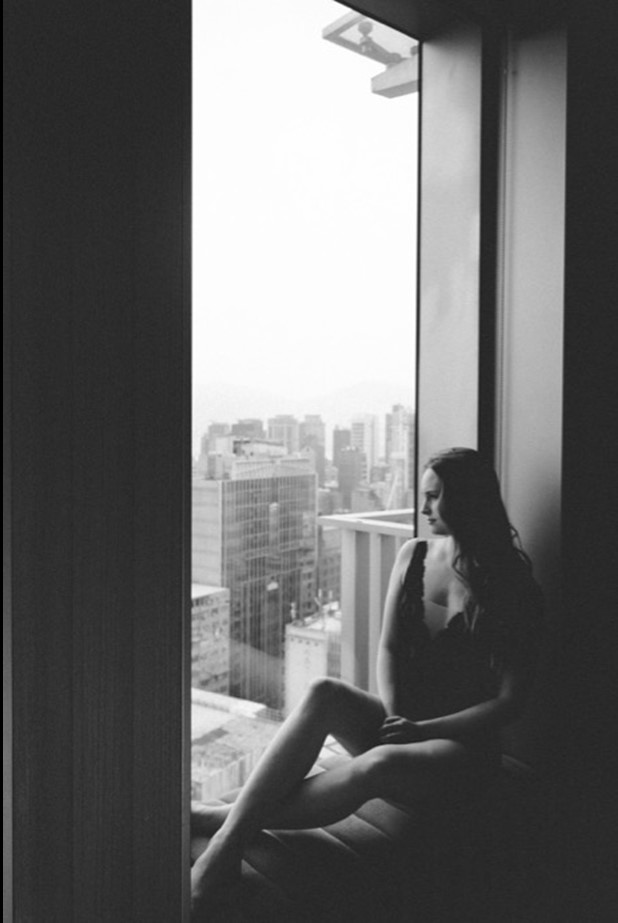
Perhaps the easiest light source is that giant ball of fire in the sky - the sun. It can be a great light source even for studio photography, if it falls in the right direction. It has it’s limitations of course; only operating during daylight hours and it can leave you without much control at times too. Photographers talk a lot about ‘window light’, there is something beautiful about the way the light drops off from a window and creates shadow. Pro-tip: try a shot with the light source coming from behind and overexpose that window and ensure that your subject is properly exposed.
The Photology Team has saved a few example images on our Window Light Pinterest Board for those looking for a little inspiration.
Flash Photography
You do not need to buy a huge set-up for a studio in your home. If you have dabbling in photography for a little bit, there is a good chance you already have a standard speedlite flash that sits on top of your camera. Some camera systems offer wireless flash but for those that don’t, there are a few basic accessories that will allow you to set up your flash wirelessly. See the section below on Light and Camera Supports for more information.
Flash photography has been around a long time and has seen many advancements in recent years - you can control the light and camera settings manually and many units offer Through The Lens (TTL) which will change the power of the flash to suit your scene automatically. Traditional studio lights are often manual, so no TTL, but used manually, a studio flash or speedlite will provide great consistency.
Constant Lights
A constant light, as the name suggests sends out a constant light. They are perfect for seeing your results straight away, video shooting and for people who are learning - it can offer an easy entry into using artificial lighting as what you see is what you get. There are a stack of great options ranging from the inexpensive to a full pro-rig. Most are made from LED lights and are lightweight, don’t run at a high temperature and use rechargeable batteries. Generally, the larger the light source, the larger the area you can cover so think about the largest subject you will take photos of and buy accordingly - there are even lights small enough to fit in your pocket.
Check out our follow up piece for information on light modifiers, accessories and more. [Coming Soon!]