Essential Tools for Macro Photographers
Written by Milad Nabi - August 05, 2021
It's always a matter of perspective when it comes to photography. What is your subject and where are you going to photograph them? What kind of lighting are you working with, and how might it affect the shot? Do you intend to shoot from above or below? Is the subject moving, or are you moving as you look for the perfect angle on a static landscape? Then you can start asking gear-related questions. Are you using a prime lens or a telescopic lens to shoot from a distance? Is this a live event, and do you need to bring a couple of lenses with you?
Whether you are an enthusiast or seasoned photographer, you want to be able to ask yourself these questions and think through the logistics. However, when you shift your perspective to work on extremely small subjects like bugs other small items, these questions are more important.
What is macro photography?
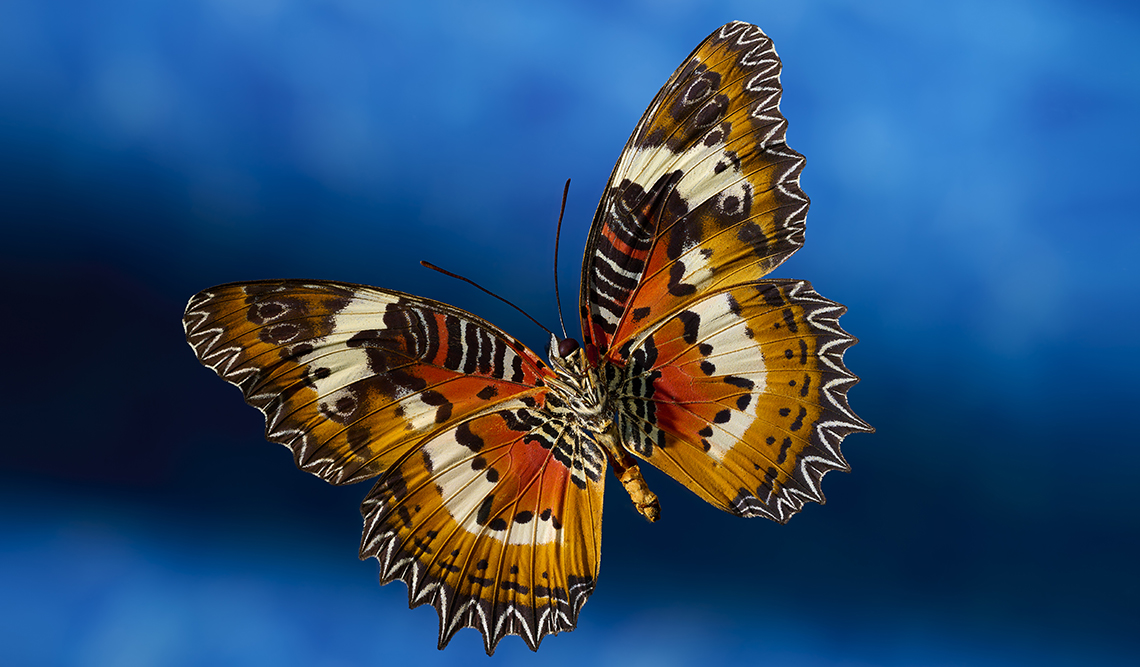
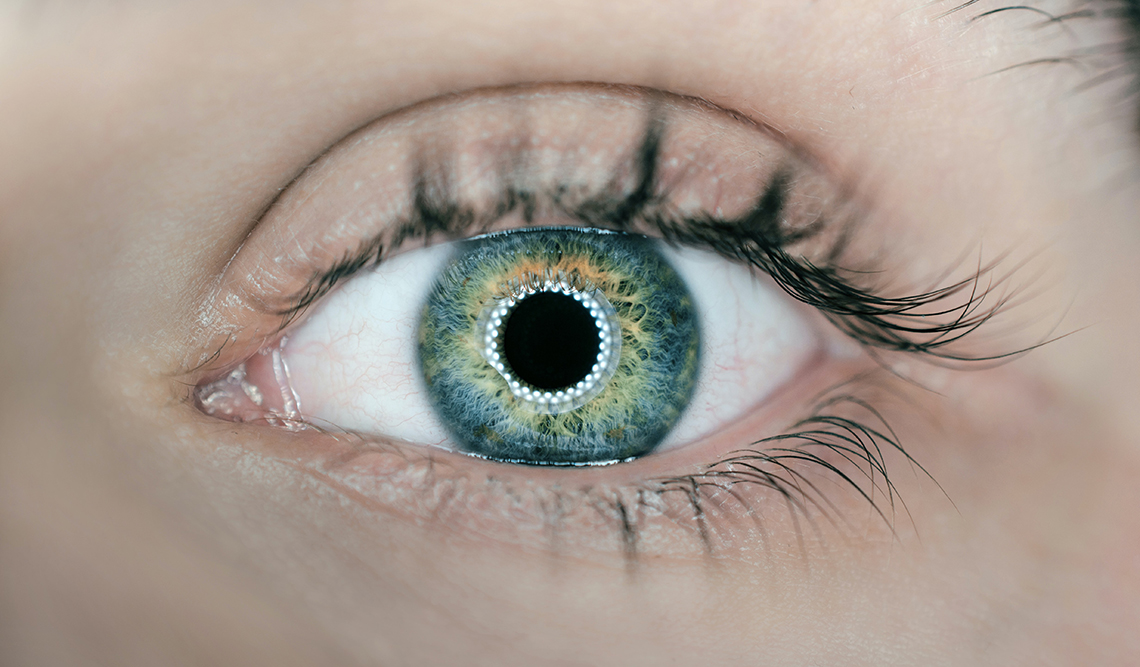
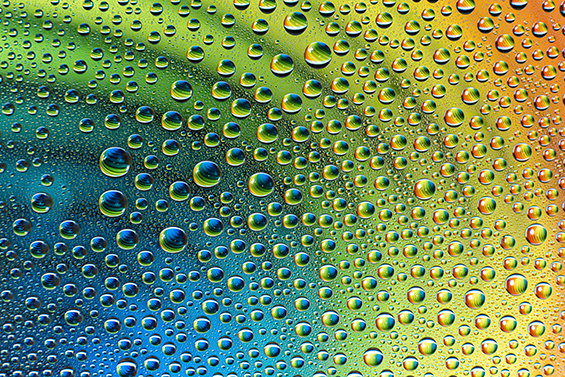
Macro photography is a type of close-up photography that was originally created for scientific purposes. The most stringent definition of macro photography is when the subject is taken at 1:1 magnification, or when the subject seems to be life-sized in the photograph. Most people, however, refer to any photograph that portrays a close-up and incredibly detailed depiction of a small subject as "macro photography."
Understanding magnification
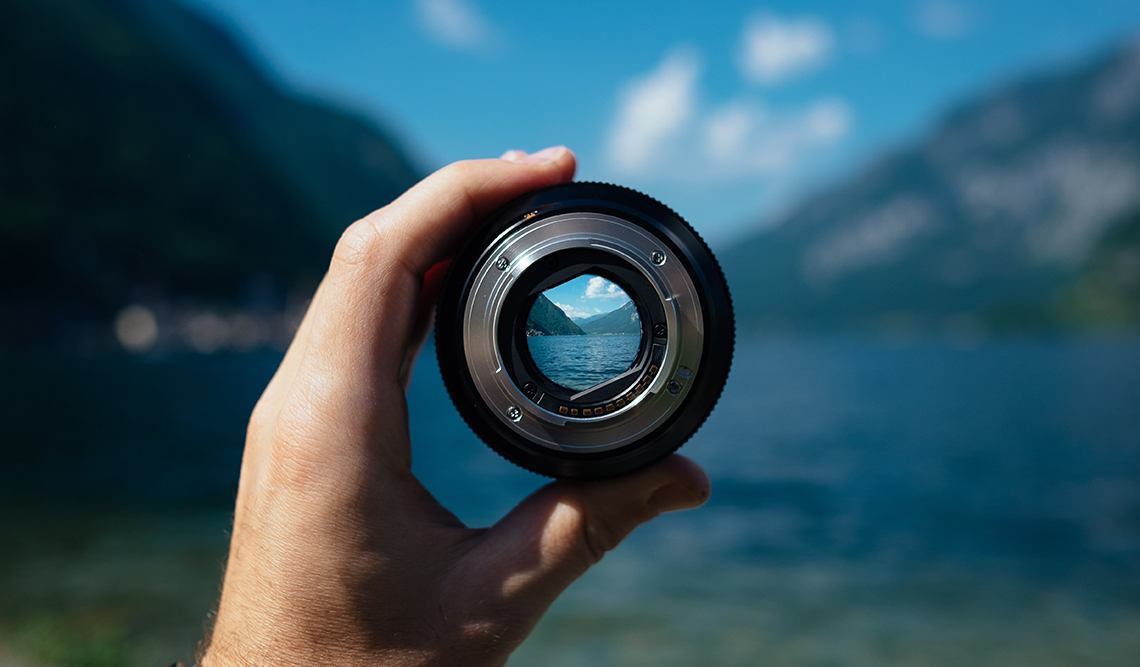
It's crucial to know how big or small your subject appears on your camera sensor while selecting a macro lens. When you compare this number to the size of your subject in the actual world, you get a magnification value. Your subject is considered to be at “life-size” magnification if the ratio is simply one-to-one. This means that a subject can be reproduced at full size on the camera’s image sensor (regardless of the size of your camera sensor). For instance, if you’re photographing a 10 mm object, it will be projected onto the sensor as a 10mm image. A maximum magnification ratio of 1:2, or "0.5x," means that an image of the same 10 mm item will be projected onto the sensor at a maximum size of 5 mm, or half its real size.
What exactly is the working distance?
Another important factor in macro photography that affects your lens selection is working distance. Working distance is simple: It's the distance between your lens's front element and your closest subject. If your working distance is too short, you risk frightening your subject or obstructing the light simply by being too close. It's usually a good idea to look for a lens with the longest possible working distance so you don't startle your subject or throw a shadow on it.
Macro photography gears
When it comes to macro equipment, you have a lot of choices. If you want to keep things simple, these are the 3 macro photography equipment along with your camera that will give you the best chances of success.
Macro Lenses
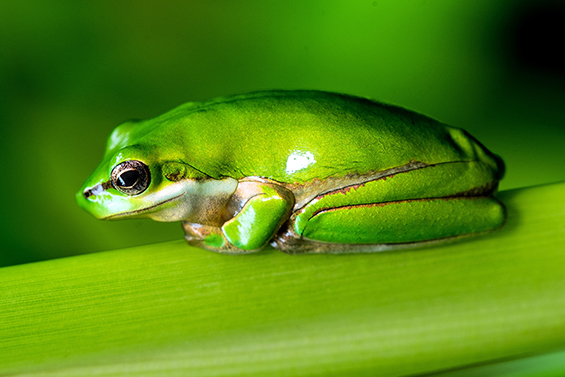
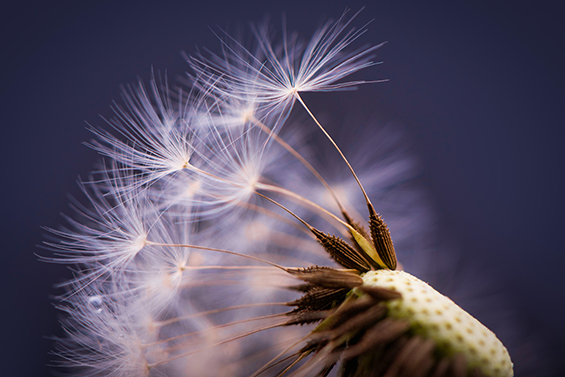
Macro lenses are capable of achieving pinpoint focus on the smallest of details. From the microscopic hairs on an insect's legs to the contents of a rain droplet on a spring leaf, you'll capture astonishing little worlds of detail and colour that the naked eye cannot see. Macro lenses are available in a wide range of focal lengths, ranging from 30mm to 200mm.
Short macro lenses (30mm-60mm): These macro lenses are lightweight and affordable, but they require you to go extremely near to your subject, which might cast shadows or scare your subject away.
Mid-range macro lenses (90mm-105mm): These macro lenses offer a greater working distance yet are light enough to use without a tripod.
Long macro lenses (150mm-200mm): Longer focal length macro lenses offer the finest quality photographs at the farthest distance, making them excellent for shy macro subjects such as insects. They are, however, the most costly and heaviest macro lenses.
Among the popular macro lenses to consider are:
- Panasonic Lumix G Macro 30mm f2.8 ASPH MEGA OIS Lens
- Canon RF 35 mm f1.8 IS Macro STM Lens
- Nikon AF-S DX Micro 40mm f/2.8G Lens
- Olympus M.Zuiko Digital ED 60mm f/2.8 Macro Lens
- Sony FE 90mm F2.8 Macro G OSS Lens
- Fujifilm X F90mm f2 R LM WR Lens
- Canon EF 100mm f/2.8L Macro IS USM Lens
- Nikon Z MC 105mm f/2.8 VR S Micro Lens
Tripods
In macro photography, sometimes you need more than just your two hands. Having a tripod provides you with additional stability. It also helps you to capture images in low angles and awkward spots. Longer shutter speeds, composing your shots, pre-focus, and focus stacking are other benefits of having a tripod.
Almost any tripod will suffice for macro photography. Tripods that can set your camera at ground level are more adaptable and more suited for photographing insects, flowers, and other low-growing plants.
For macro photography, tripod heads with long handles are preferable to tripod heads with ball heads. Because of the close working distances involved in macro photography, camera position adjustment is accentuated. Ball heads with extended handles allow you to make the tiniest camera position adjustments much easier.
Lights
A macro photograph’s composition is almost determined by the lighting; thus, it is the single most crucial aspect that a macro photographer should have perfect control over. Your macro images will be sharp, vivid, and visually attractive if you use proper lighting. However, if you don't get the lighting right, your macro shot will look boring and dull.
Although you can photograph macro in bright sunshine, the images will generally have too much contrast. If you are using natural light, make sure to diffuse the direct sunlight. Harsh lighting provides too much contrast, resulting in overly bright highlights and shadows devoid of detail.
For effective macro photography, you'll need equipment that adds or changes the light on your subject. Macro photography can be done with two types of lighting: continuous lighting and flashes. Both options offer distinct advantages over one another, but it is entirely up to your personal preference to select one.
Continuous light (LED)
Continuous macro lighting is ideal for adjusting a variety of lighting parameters. Furthermore, with continuous light, you can always observe how the light is affecting the subject. Continuous light is the ideal option for beginner macro photographers. It allows you to gain a better understanding of how lighting affects macro photography, which will help you become a better macro photographer. Continuous lighting also makes it much easier to direct light to specific sections of a subject. This allows you complete control over the lighting conditions, resulting in some spectacular images. Continuous lighting also enables you to capture amazing macro videos.
Flash
When utilised correctly, flash photography is fantastic. The ability to freeze subjects due to the short duration of the light is its greatest advantage. This makes it ideal for use as a fill light in the field and for capturing moving insects. Flash is more difficult to master, with various flash modes like manual mode, TTL, and rear curtain sync. However, once mastered, the results are remarkable. Using flash is a trial and error procedure that takes a long time to perfect.
Along with the main equipment mentioned above, few other accessories will help you take even better photos than before.
Light Diffuser
A light diffuser is an essential piece of equipment, especially for outdoor macro photography. It will give you better control over light when photographing in direct sunlight. Diffusers allow you to remove bright sunshine and unsightly shadows, resulting in a more balanced light on your subject. Shooting macro shots in direct sunlight can be difficult, so always have a diffuser with you to get the greatest light possible.
Focus Rail
Focus rails, which are intended for more professional macro photographers, allow you to move your camera back and forth or left and right with incremental precision. Focus rails, when mounted on a tripod or other stabilising device, provide one of the simplest and most precise methods of altering your camera's (and focus point's) position. They're particularly useful for focus stacking. It will be much easier to switch to manual focus with the focus rail especially at greater magnifications which allows you to have more control over your focus points.
Polarising Filter
Controlling the reflections from the sky on your subject is often necessary when photographing macro subjects outdoors. This is especially true when photographing water droplets, flower petals, or other potentially shiny objects. Wet conditions can have a significant impact on colour saturation, yet the reflections from those smooth surfaces can obscure the details of your subject. Depending on the angle of the light, a polariser filter can remove this reflection and allow the genuine colours and textures of the subject to shine through.
Having the proper basic equipment is essential, but simply having decent gear will not result in beautiful photographs; the more you experiment and fine-tune your approach, the better your images will be. Here are some helpful hints for making the most of your macro setup.
If you have any queries or want to have a chat with someone about the different options, you can reach out to one of our team members on 1300 365 220.